Tuesday, December 24, 2013
Gift Bow Santa Ornament!
My daughter and I just finished making these adorable Gift Bow Santa ornaments! Thanks to Amber, for posting step by step directions. Check them out here. Making ornaments is better for the diet than making cookies!
Tuesday, December 17, 2013
Weekly Deals December 17th through December 23rd!
Sunday, December 15, 2013
Santa Gift Card Holder-Envelope Punch Board!
These gift card holders are so quick and easy to make! Julie Davidson has a video tutorial, click here to check it out.
Cute Mittens!
Festive Flurry Ornament!
 My little sweetie pie and I made ornaments today! This one was made using the Festive Flurry stamps and framelits. It turned out great!
December Club Projects!
Angel Ornament-made from the Bow Die!
I love this little angel ornament! I used the bow die and Big Shot from Stampin' Up!, champagne glimmer paper, and the Sassy Salutations stamp set.
Thursday, December 12, 2013
Newest Photopolymer Stamp Sets!
Check out the latest Photopolymer Stamp Sets from Stampin' Up! I can't decide which one I like best-I'm going to have to get both of them! Click here to check these sets out-as well as all the Photopolymer sets that are available. Place an order in my online store using this Hostess Code: G4AAW3JJ and receive a special gift from me!
Tuesday, December 10, 2013
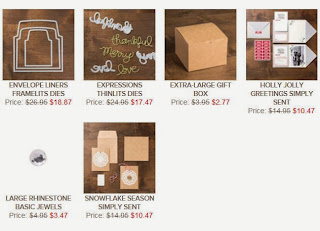
Clearance Rack Blitz! Up to 80% off!
There's some great stuff on here! Click here to check out the sale! Use Hostess Code XPXE9Z42 and receive a special gift from me!
Have a great day!
Have a great day!
Tuesday, December 3, 2013
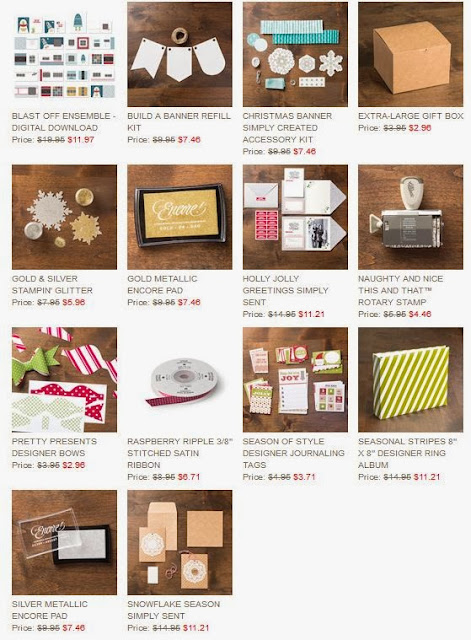
New Weekly Deals have been posted!
Check out my online store to see the great deals available this week from Stampin' Up! Click here for more details. Use Hostess Code TG4X2QWM and receive a special gift from me!
Monday, December 2, 2013
24 hour Sale!
The Stampin' Up! Holiday Sale has just gotten even better! Check out these "24 hours only" specials. Use Hostess Code TG4X2QWM and receive a special gift from me!
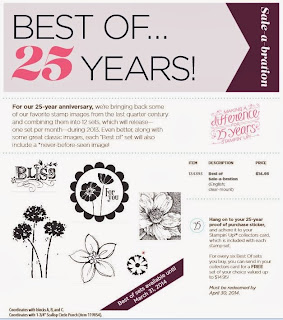
Best of...December
Here's the latest "Best of..." stamp set for December! The best of past Sale-a-bration stamp sets! Click here to see all the details.
Saturday, November 30, 2013
Technique Freaks! Faux Linen
Faux LinenDirections:1) Rub a sanding block or sandpaper over a piece of Glossy White card stock, from top to bottom and then side to side. 2) Ink a sponge or sponge dauber, and rub the ink over the sanded surface to create the linen look. 3) Stamp your image. Tip: |

  |
Technique Freaks! Emboss Resist
Emboss ResistDirections:1) Stamp and heat emboss your image. Allow image to cool. 2) Apply ink directly to the paper (over and around the embossed image) using a sponge or brayer. 3) Wipe the embossed image with a tissue to remove the excess ink. Variation: watercolor resist 1) Once you've embossed an image, scribble around and over the image using a Watercolor Wonder Crayon, and blend using an Aqua Painter. Wipe the color from the embossed image, and allow to dry completely. |

 |
Technique Freaks! Double Slider Card
Double Slider CardDirections:1) Punch a divot in the top of your card using the 1-1/4" Circle punch. Punch a vertical slot through the front of the card using the Word Window punch. 2) Place the back slider inside the card, aligning the top of the slider with the top of the divot. 3) Put two Stampin' Dimensionals through the slot and adhere to the back slider. 4) Next, adhere the front slider to the front of the Stampin' Dimensionals. 5) Cover the slot with your front stamped image using Stampin' Dimensionals, and finish by adhering the card edges together. |

    |
Technique Freaks! Crayon Resist
Crayon ResistDirections:1) Stamp your image in Basic Black Classic ink or StazOn ink on Glossy White card stock. 2) Color areas you want to remain white--or that you want different from your background color--using a Whisper White or other light-colored Watercolor Wonder Crayon. 3) Use a brayer or sponge daubers to cover the entire surface of the card stock with ink. 4) Wipe off excess ink with a tissue. Tips: |

   |
Subscribe to:
Posts (Atom)


